

How To Fix The Broken Camera Lens Of Moto G5 Plus
Moto G5 Disassembly/Teardown Review
By kaye | March 23rd, 2017 | | 5
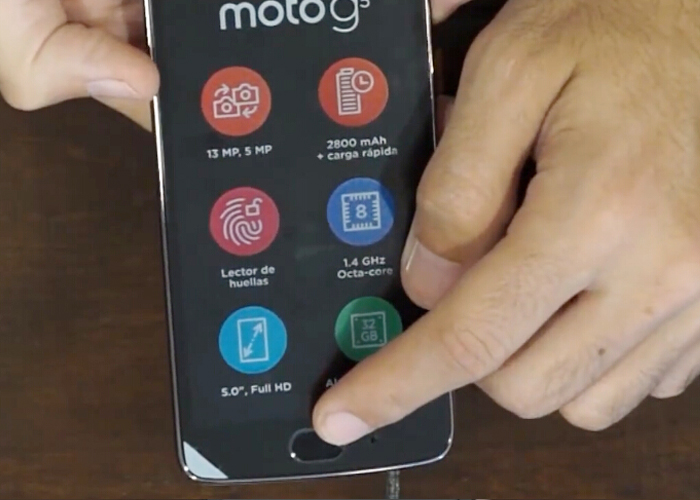
With smaller 5.0 inch full Hard disk screen, this newly released Motorola G5 seems to have improved on its already stellar predecessor with an updated metal design, and this time the G5 comes with the choice to add a Micro SD card to expand the storage up to 128GB while keeps everything that made last year's model neat, here we'd like to bank check the Moto G5 teardown process with you all the figure out what'southward differences within.
Repair Tools Needed:
Phillips screwdriver
Tweezers
Pry opening tool
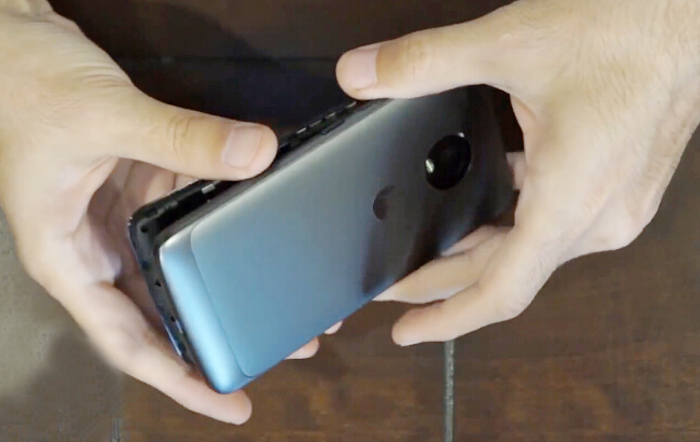
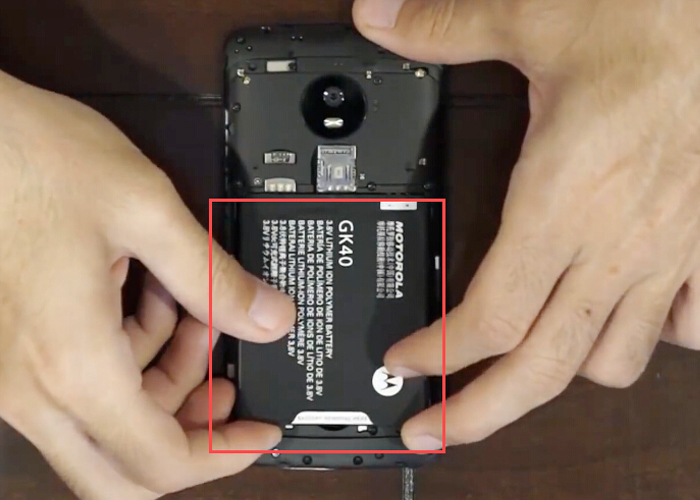
Step 1 Remove battery cover and battery
At that place is a small latch on the bottom of the phone between the back cover and the phone body, just pry off the cover from the modest latch with your fingernail, the metal cover should be hands removed. And then battery can be taken out easily.
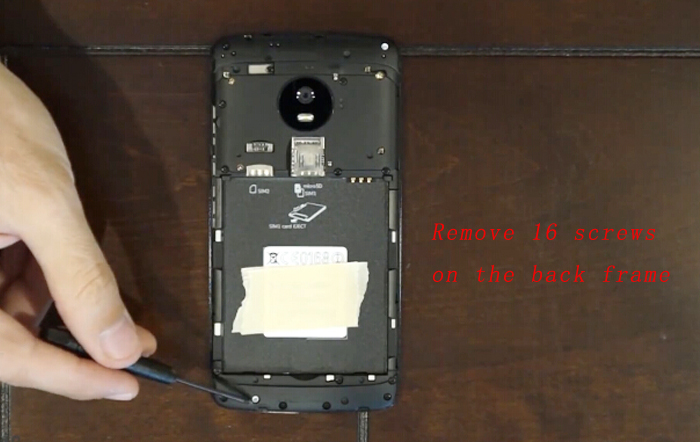
Footstep 2 Remove back frame
Later on removing the battery embrace, then you need to disengage 16 phillips screws on the dorsum.
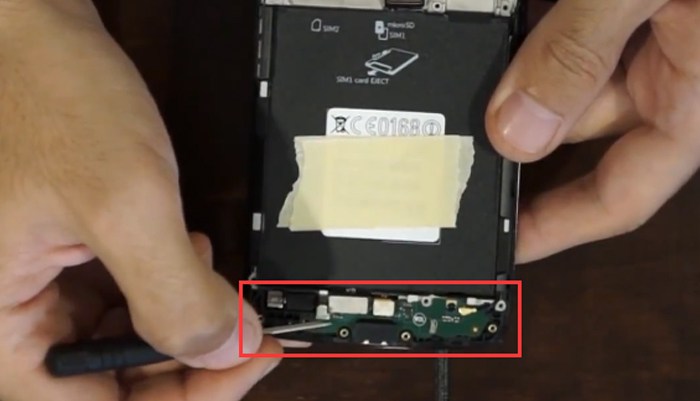
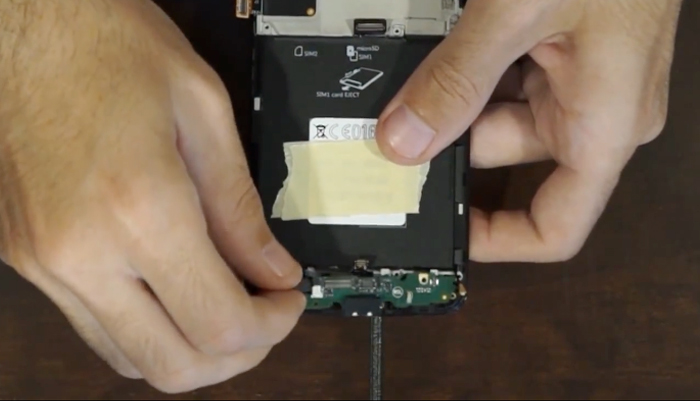
Then you can remove the bottom office of the back frame, which comprehend the charging port module.
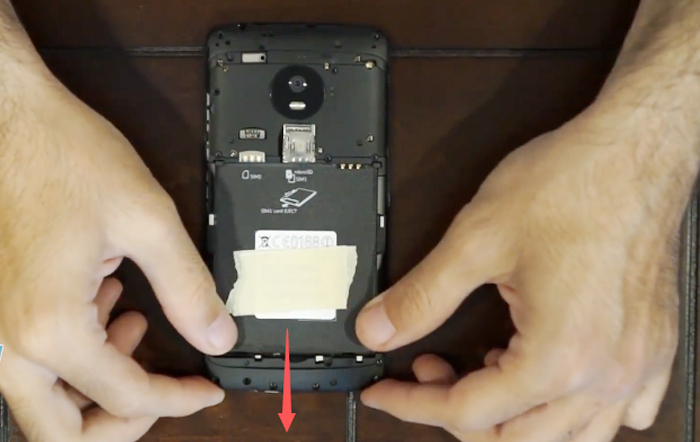
Moving to the upper side, we may utilize the pry opening tool to remove the upper cover, at that place are a couple latches all around.
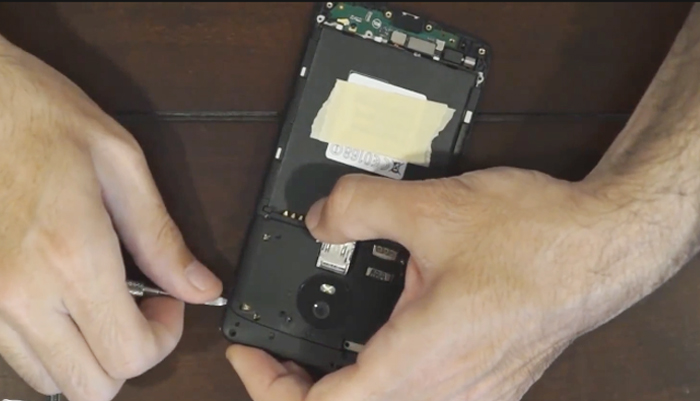
Footstep 3 Remove motherboard
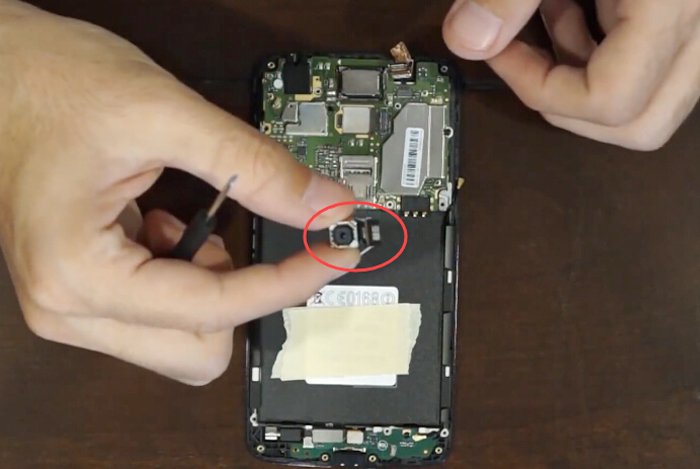
With the back frame'south off, we know head to the motherboard. First we tin disconnect the forepart camera connector and remove information technology.
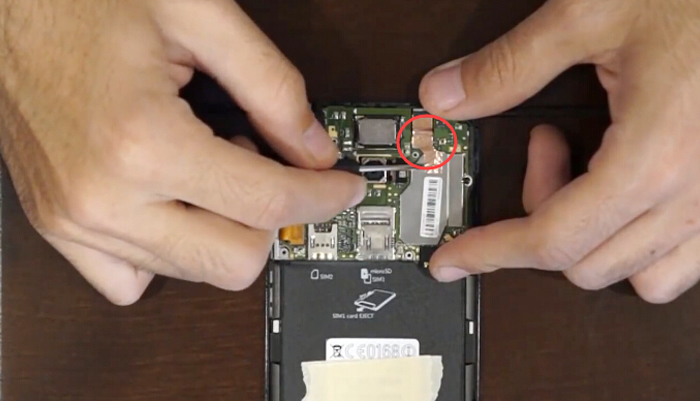
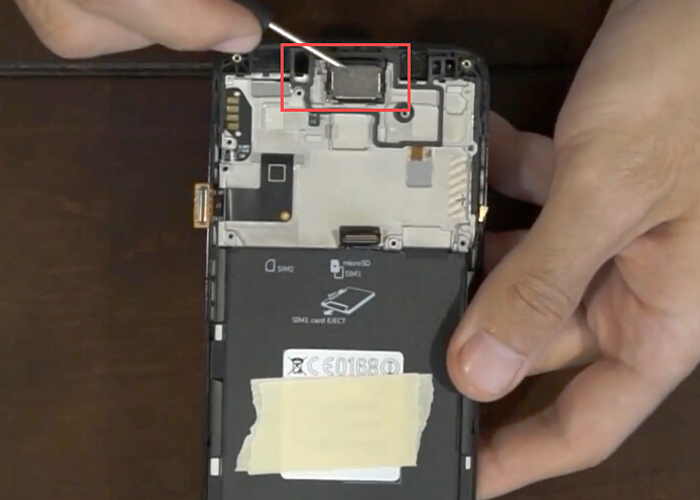
And so rear facing photographic camera connector, flex screen cable connector, signal cable connector.
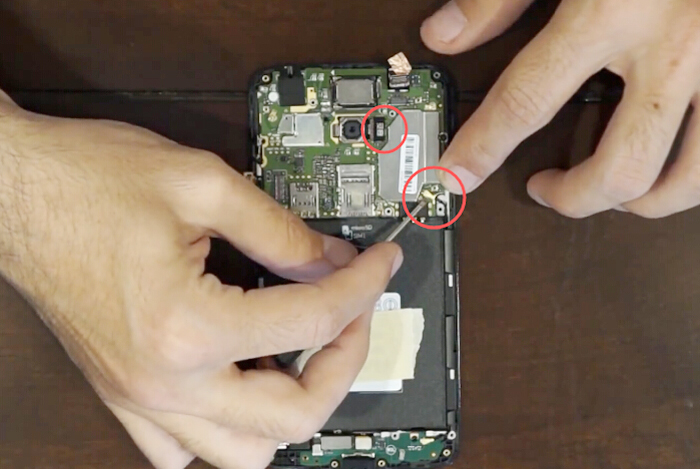
Remove rear camera here!
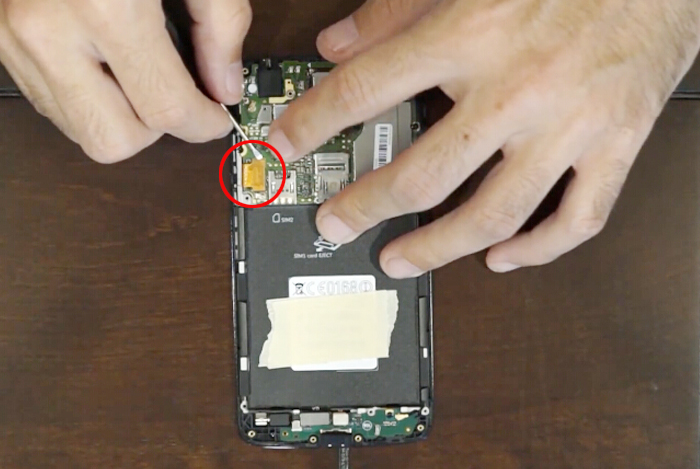
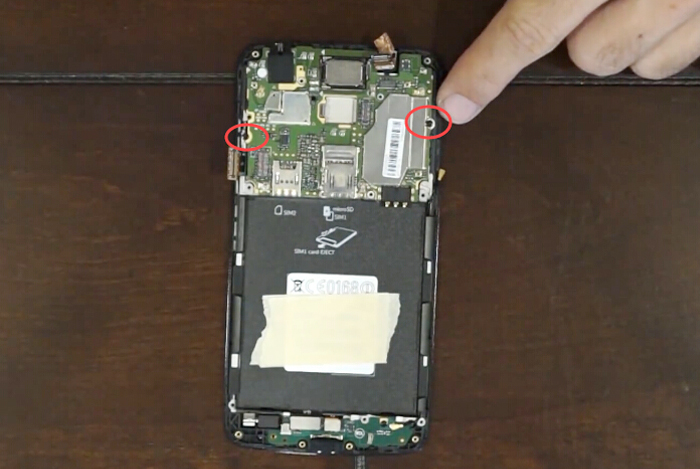
Next nosotros have another 2 phillips screw to remove.
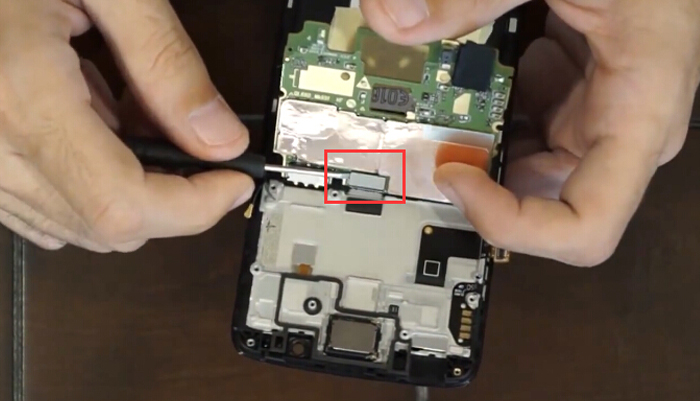
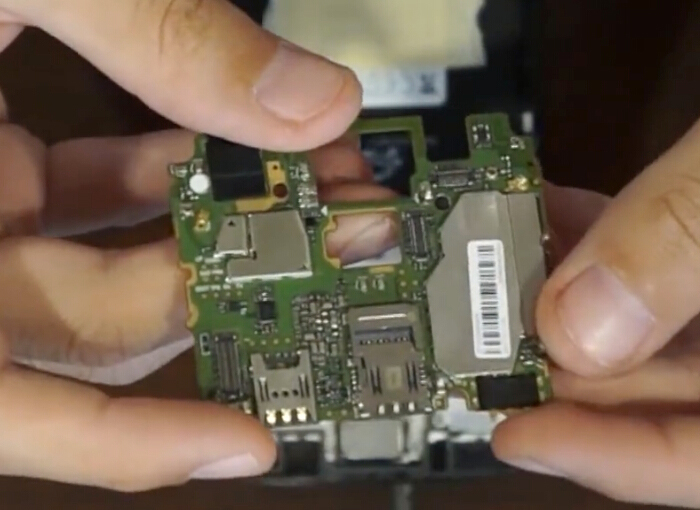
With all small stuffs off the motherboard, nosotros now pry up the mainboard and there is the connector on the other side we need to loosen earlier taking it off from the front housing assembly.
Step iv Remove charging port module
First we need to disconnect the dwelling button flex cablevision connector and bombardment connector, so remove the screws securing the charging port module.
Then we can remove the charging port flex, which comes with the vibration motor.
Then we left ear speaker, abode button and front screen assembly together. Removing ear speaker can't be hard, nevertheless, if yous need to supplant the home button or screen only, that could be a big challenge if you are not professional.
Replacing the abode button requires separating the screen from the front end screen frame which can exist a tough chore for about of us, then we recommend you lot transport it to the professional person repair store when you demand to set up your home button or replace the LCD screen without forepart frame.
So far this is what we tin practice to brand certain the Moto G5 is good enough during the teardown process.
any thoughts nearly how to fix your phone more than efficiently share with us past commenting below!
(PS: Moving-picture show sources from pwrdbykyank)
You may also like:
-
Top 5 Moto K Tips and Tricks You lot Must Know
-
How to Repair a Cracked Screen on Motorola Moto G
Summary
Reviewer Eilers
Review Engagement
Reviewed Item
Well noted. All your points are very useful.
Author Rating

Source: https://www.etradesupply.com/blog/moto-g5-disassembly-teardown-review/
Posted by: powellaffathe.blogspot.com
0 Response to "How To Fix The Broken Camera Lens Of Moto G5 Plus"
Post a Comment